Showing posts with label Mac OS X. Show all posts

Sunday, 29 January 2012

Flip left and right orientation and check image orientation in FSL

FSL image_flip/check is an applescript that written to flip left and right orientation of group of brain images. It can be used as well for checking image orientation of group of images in sequence where presentation of each image lasts for a proper time (defined by user; 10 seconds as an example).
 Click her to download script


Please leave your feedback if you like this tool or a suggestion if you think it needs to be improved!


Related links
Batching FSL tools and utilities using Applescript "1" (BET)
Batching FSL tools and utilities using Applescript and bash script "2" (SIENAX)
Batching FSL tools and utilities using Applescript "3" (fslsplit)
Batching FSL tools and utilities using Applescript and bash script "4" (fslchfiletype) Analyze2Nifti--Nifti2Analyze
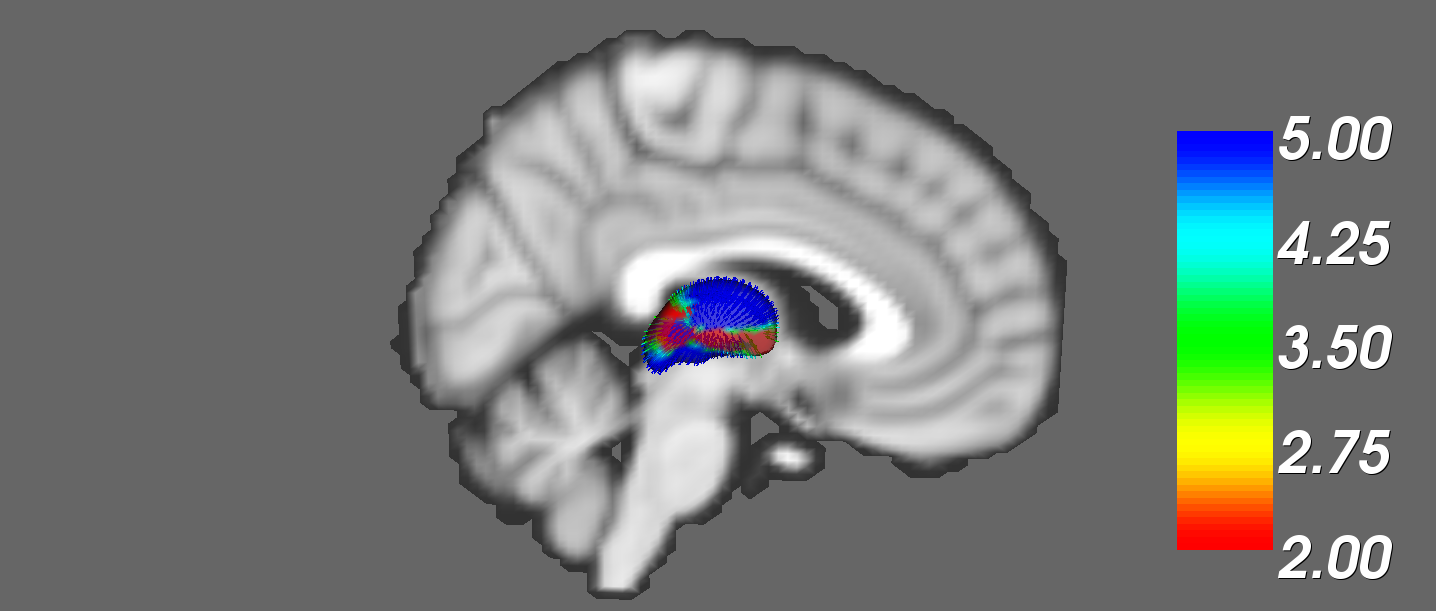
Batching FSL tools and utilities using Applescript "5" (FIRST)

Friday, 13 January 2012

Tuesday, 10 January 2012

Batching FSL tools and utilities using Applescript and bash script "4" (fslchfiletype) Analyze2Nifti--Nifti2Analyze


This script has been written to automate FSL utility (fslchfiletype). Using this script user could convert multiple images at once using a few mouse click. There are six options; 
Analyze (img) <---> Nifti (nii)
Analyze (img) <---> compressed Nifti (nii.gz)
Nifti (nii) <---> compressed Nifti (nii.gz)


To download this script please click on the following link nifti2analyze_applescript


I wrote a bash script to do the same job. It works on both Linux and MAC, user needs to copy script to data directory and execute it from there. This script works on bash shell only where it can be executed using "chmod +x" command as following;

chmod +x Analyze2Nifti-Nifti2Analyze.command or chmod +x Analyze2Nifti-Nifti2Analyze.sh


Please leave your feedback if you like this tool or a suggestion if you think it needs to be improved!


Related links

Saturday, 24 December 2011

Batching FSL tools and utilities using Applescript "3" (fslsplit)


This script has been written to automate conversion of 4D images to series of 3D images using fslsplit utilityThanks to Carolina Mendez Orellana for the idea of this script. To download this script please click on the following link FSL_SPLIT


fslsplit splits a 4D file in one of 4 dimensions (time, x, y, z)

fslsplit <input> [output_basename] [-t/x/y/z]
        -t : separate images in time (default)
       -x : separate images in the x direction
       -y : separate images in the y direction
       -z : separate images in the z direction


Please leave your feedback if you like this tool or a suggestion if you think it needs to be improved!


Related links

Wednesday, 21 December 2011

Batching FSL tools and utilities using Applescript and bash script "2" (SIENAX)

This script has been written to automate and simplify SIENAX tool (FSL) without writing any command line. User only needs to specify data directory and to select options at the beginning. To download this script please click on the following link


I wrote a bash script to automate and simplify SIENAX tool. It works on both Linux and MAC, user needs to copy script to data directory and execute it from there. This script works on bash shell only where it can be executed using "chmod +x" command as following;

chmod +x sienax_bash.command or chmod +x sienax_bash.sh
Bash script


SIENAX estimates total brain tissue volume, from a single image, normalised for skull size. It calls a series of FSL programs: It first strips non-brain tissue, and then uses the brain and skull images to estimate the scaling between the subject's image and standard space. It then runs tissue segmentation to estimate the volume of brain tissue, and multiplies this by the estimated scaling factor, to reduce head-size-related variability between subjects.


Please leave your feedback if you like this tool or a suggestion if you think it needs to be improved!


Related links

Monday, 19 December 2011

Batching FSL tools and utilities using Applescript "1" (BET)


I wrote this script to automate and simplify BET tool (FSL) without writing any command line. User only needs to specify data directory and to select options at the beginning. To download this script please click on the following link


BET (Brain Extraction Tool) deletes non-brain tissue from an image of the whole head. It can also estimate the inner and outer skull surfaces, and outer scalp surface, if you have good quality T1 and T2 input images.


Please leave your feedback if you like this tool or a suggestion if you think it needs to be improved! 


Related links

Wednesday, 30 November 2011

Run multiple BrainVoyager instances on Mac OSX

On Mac OSX, it is not possible to run multiple BrainVoyager instances by click the dock icon. This can be done by writing two command lines in terminal as shown in Brainvoyager support website;
Depending on the previous method I wrote an applescript*, using this script you don't have to write any thing you will use mouse clicks only. You have to click that applescript file at every time you want run more Brainvoyager instances, It can be added to the dock. 

* This applescript will work with local HASP only!

Sunday, 27 November 2011

Easyfreesurfer

Easyfreesurfer is a simple script which was written to simplify and automate most freesurfer processes. It controls some commands such as; recon-all and mri_convert without writing any command in terminal, as user will only need to use mouse to select options and click buttons. This applescript works with both shell types bash and tcsh but it is suitable for Mac OS X only.
For download click here

http://www.freesurfer.net/fswiki/Easyfreesurfer


For using bash script, which works on both Linux and MAC, user needs to copy this script to data directory and execute it from there. 

Bash script works on bash shell only where "chmod +x" command used to make it executable as following;
chmod +x easyfreesurfer_bash.command 
or
chmod +x easyfreesurfer_bash.sh


Please leave your feedback if you like this tool or a suggestion if you think it needs to be improved!


Related links

Tuesday, 22 November 2011

Brainvoyager QX tips and tricks 2; Create a 3d shape by drawing a region of interest

In the following slides, I will present a simple method of creating a 3d mesh from a region of interest using draw with mouse tool.
First of all, open any *.vmr file, when you click on 3D volume tools, choose segmentation tab as shown in the following image. Tick enable for draw with mouse option (I selected 2D in-plane) because I drew a region of interest around corpus callosum. If you want to draw a multislice volume you can choose 3D (cube) but with care as you move from slide to another. To change draw tool color you should change (New) value in rage (225-240). I got orange color by change value to 226.
You can start drawing by selecting (ctrl+left click in windows) and (cmd+mouse left click in MAC).
After finishing drawing, click on 3D volume tools then choose segmentation tab and option as shown in the following image. Next steps are shown in the following series images.
Then select mesh morphing to smooth resulted shape.
In the final step, we save resulted mesh
We can combine two meshes by adding another mesh as shown in the following image.


Related links
Run multiple BrainVoyager instances on Mac OSX

Monday, 21 November 2011

Brainvoyager QX tips and tricks 1; Some visualization tips

This entry is part of my talk about advanced features of visualization in Brain Voyage QX which was held in May 2008 at MARIARC, Liverpool.

I used BVQX (1.9.10). There are some differences between different versions, so please take this issue in account if you use another version. Hopefully, this could help!

Before starting; you have to refer to BrainVoyager QX Getting Started Guide
BrainVoyager QX Getting Started Guide


1- Sphere Mapping (Cortex-based alignment)
This can be done faster and easier in an automated way using a script provided through brain voyager QX support site by Draulio de Araujo. However, I am showing the normal method here.


2- Illustration of Brodmann areas, lobes, sulcus and gyruses...(on mesh)
Sphere Mapping should be processed before starting this step. Doing all of the previous steps ending with folding the (...RECOSM.srf) mesh by setting standard sphere vertices (image 7).
You should load a patch of interest from database that located in Atlas Brains folder in Brain voyager QX directory.


3- Illustration of Brodmann areas on 3D view; SAG, COR, AND TRA 
You should download  brodma.voi from Brain voyager user forums. or email me if you want a copy. (This file is available in the newest versions (Brainvoyager QX 2.x.x).

4- Drawing region on a mesh
In the following step, you should use ctrl and mouse click in order to draw a region of interest.When you finish drawing a closed curve you can toggle to fill mode and fill the region.

5- Representation of demarcated region on a polygon mesh


Related links
Run multiple BrainVoyager instances on Mac OSX